
Description
OpenVPN Server provides a convenient web interface for easy configuration and management of your OpenVPN-based VPN server to access private and public resources. It is compatible with many platforms and supports multiple authentication systems. The OpenVPN protocol is trusted by leading global brands for its flexibility, scalability, and ease of use. OpenVPN includes a built-in local authentication system that can be fully managed through the web interface.
The official OpenVPN Connect client supports Windows, macOS, iOS, Android, and ChromeOS. The open-source OpenVPN client is available for Linux, FreeBSD, and many other platforms and devices.
Getting started
Deployment steps:
1. Deploy an OpenVPN server from the Marketplace.
After creating the server, you will be provided with instructions with data for connecting to the service. It will be in the ticket in your personal account.
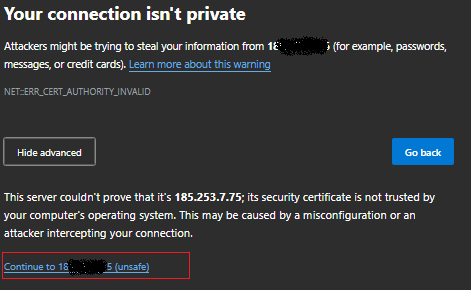
2. Access the web interface of your server.
By going to a URL Like: http://11.22.33.44/. If you see an SSL certificate warning, it is normal and safe to ignore. Confirm the warning to proceed further.
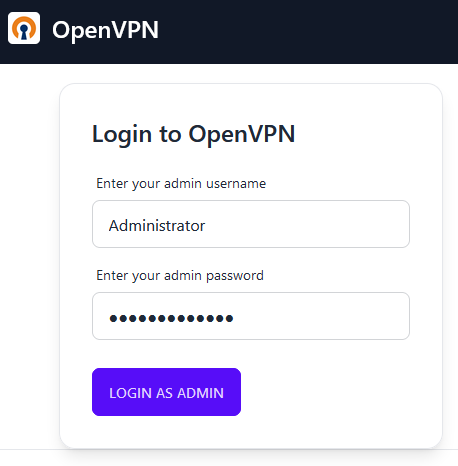
Log in using the “Administrator” username and the password provided earlier.
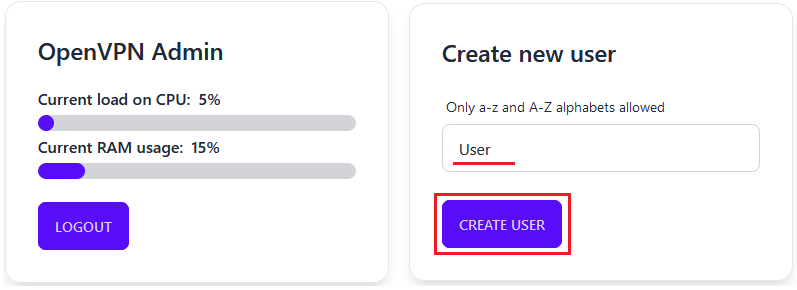
3. In the OpenVPN panel.
You need to add a new VPN user. Enter a username for the VPN, such as "User", and click the “Create User” button.
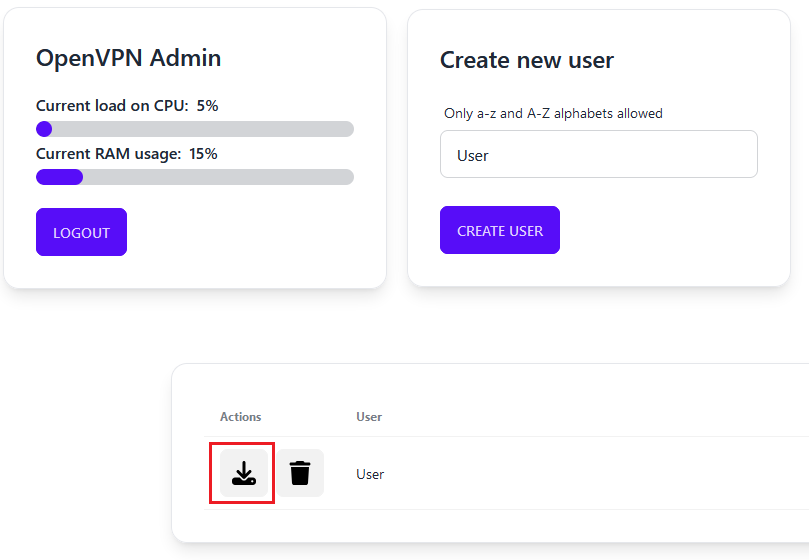
Next, download the user key. Click the download arrow button below the fields to download it. See screenshot:
4. Download the OpenVPN client.
For your operating system from the link at the top of the web interface.

Install the OpenVPN client on your device and import the previously downloaded User.ovpn key.
After that, activate the connection to connect to your OpenVPN server.
Your local device should now have a new IP address from the OpenVPN server.
